Author

Francis Ndungu
On this Page
How to Create a PostgreSQL User and Grant Full Database Permissions on Ubuntu 26.04
07 May, 2026
Introduction
PostgreSQL manages database access through a role-based system where each role can own database objects and receive specific privileges. When deploying web applications, you need a dedicated database user with full control over its own database while preventing other users from accessing that data. This isolation mirrors the MySQL approach of granting ALL PRIVILEGES ON database_name.* TO 'username'@'host', but PostgreSQL uses a different syntax with ownership transfers and schema-level permission grants. Understanding these PostgreSQL-specific commands helps you secure multi-tenant applications, CMS platforms, and enterprise resource planning systems where data isolation is critical.
This guide shows you how to create a PostgreSQL user, create a database with that user as owner, and restrict access to prevent other users from connecting or modifying the database.
Prerequisites
Before you start:
- Purchase an Ubuntu 26.04 VPS (Virtual Private Server) . If you don't have an Ubuntu VPS, sign up with Vultr and get upto $300 worth of free credit to test the Vultr platform.
-
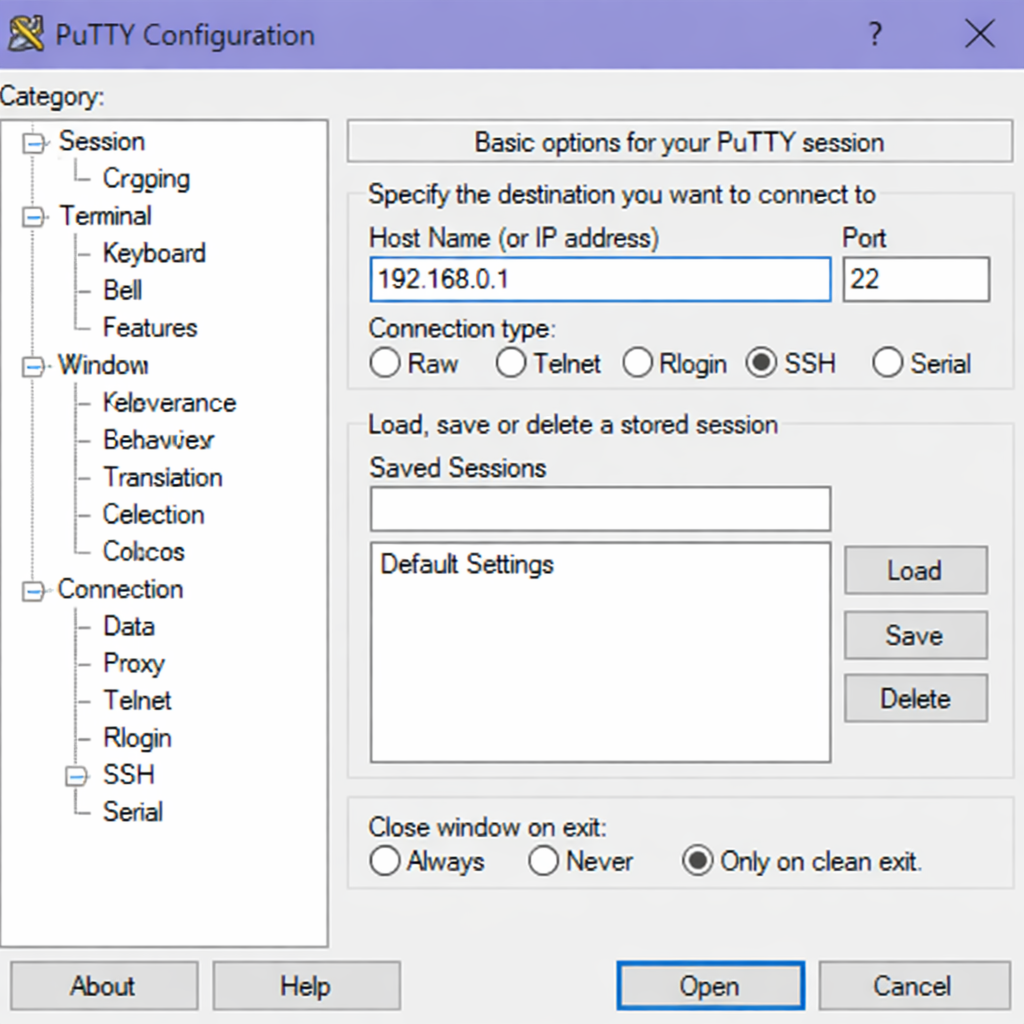
Connect to your server through SSH, replace
192.168.0.1with your VPS public IP address..-
Use PuTTY to connect to your VPS .
-
Run the following command in your shell.
console$ ssh username@192.168.0.1
-
-
Create a non-root user with sudo privileges. Read our guide on How to Create a Non-Root Sudo User on Ubuntu 24.04. You'll use this user's account to run the commands in this guide.
-
Install PostgreSQL on Ubuntu 26.04 by following our guide on How to Install PostgreSQL Database Server on Ubuntu 26.04.
Log In to PostgreSQL as Superuser
The postgres user is the default superuser created during PostgreSQL installation. You need this account to create new users and databases.
-
Log in to the PostgreSQL server using the
postgressystem user account.console$ sudo -u postgres psqlOutput:
psql (18.2 (Ubuntu 18.2-1ubuntu1))
Type "help" for help.

postgres=#
Your shell prompt changes to postgres=# indicating you are inside the PostgreSQL interactive terminal.
Create a New PostgreSQL User
Each application or service needs its own database user with a secure password. This user becomes the owner of the application database.
-
Execute the
CREATE USERcommand to create a new role. Replacejohn_doewith your preferred username and provide a strong password.SQLpostgres=# CREATE USER john_doe WITH PASSWORD 'xJut4yWjLCxBC0EG';Output:
CREATE ROLE -
Verify the new user exists in the PostgreSQL cluster.
SQLpostgres=# \duOutput:
                               List of roles
 Role name |                         Attributes                         | Member of
-----------+------------------------------------------------------------+-----------
 john_doe  |                                                            | {}
 postgres  | Superuser, Create role, Create DB, Replication, Bypass RLS | {}
Press Q to exit the role listing.
Create a Database with the New User as Owner
Setting the database owner during creation transfers full control to that user immediately. The owner can then create schemas, tables, and grant privileges without additional superuser intervention.
-
Create a new database and assign
john_doeas its owner.SQLpostgres=# CREATE DATABASE erp_database OWNER john_doe;Output:
CREATE DATABASE -
List all databases to confirm the new database exists with the correct owner.
SQLpostgres=# \lOutput:
                                  List of databases
    Name      |  Owner   | Encoding | Locale Provider | Collate |  Ctype  | Access privileges
--------------+----------+----------+-----------------+---------+---------+-------------------
 erp_database | john_doe | UTF8     | libc            | C.UTF-8 | C.UTF-8 |
 postgres     | postgres | UTF8     | libc            | C.UTF-8 | C.UTF-8 |
 template0    | postgres | UTF8     | libc            | C.UTF-8 | C.UTF-8 | =c/postgres       +
              |          |          |                 |         |         | postgres=CTc/postgres
 template1    | postgres | UTF8     | libc            | C.UTF-8 | C.UTF-8 | =c/postgres       +
              |          |          |                 |         |         | postgres=CTc/postgres
(4 rows)
Press Q to exit the database listing.
Connect to the New Database as Superuser
You need to connect to the newly created database to modify its schema permissions.
-
Switch your connection to
erp_databasewhile remaining logged in aspostgres.SQLpostgres=# \c erp_databaseOutput:
You are now connected to database "erp_database" as user "postgres".
erp_database=#
Your prompt changes to erp_database=# showing you are now inside the target database.
Revoke Public Schema Access and Grant to Specific User
Every PostgreSQL database has a public schema that allows all users to create objects by default. You must revoke these default privileges to achieve proper data isolation.
-
Remove all permissions from the
publicschema for thePUBLICrole (which includes every user).SQLerp_database=# REVOKE ALL ON SCHEMA public FROM PUBLIC;Output:
REVOKE -
Grant full permissions on the
publicschema exclusively tojohn_doe.SQLerp_database=# GRANT ALL ON SCHEMA public TO john_doe;Output:
GRANT
These commands ensure only john_doe can create, modify, or delete objects in the public schema.
Restrict Database Connections to the Specific User
Other users cannot connect to the database by default after installation, but revoking CONNECT explicitly enforces this restriction.
-
Revoke the CONNECT privilege for the
PUBLICrole on the database.SQLerp_database=# REVOKE CONNECT ON DATABASE erp_database FROM PUBLIC;Output:
REVOKE -
Grant CONNECT privilege exclusively to
john_doe.SQLerp_database=# GRANT CONNECT ON DATABASE erp_database TO john_doe;Output:
GRANT
Now only john_doe and superusers like postgres can establish connections to erp_database.
Exit the PostgreSQL Connection
After completing the permission setup, exit the PostgreSQL prompt to return to your system shell.
-
Exit from the PostgreSQL interactive terminal.
SQLerp_database=# \qOutput:
$
Verify Access by Logging in as the New User
Test that john_doe can connect to the database and access its objects.
-
Log in to PostgreSQL as
john_doeand connect directly toerp_database.console$ psql -U john_doe -d erp_databaseOutput:
Password for user john_doe:
psql (18.2 (Ubuntu 18.2-1ubuntu1))
Type "help" for help.

erp_database=>
Your prompt changes to erp_database=> showing successful authentication and connection.
-
Create a new table to verify
john_doehas full permissions.SQLerp_database=> CREATE TABLE test_table (id SERIAL PRIMARY KEY, name VARCHAR(100));Output:
CREATE TABLE -
Insert sample data to test write capabilities.
SQLerp_database=> INSERT INTO test_table (name) VALUES ('sample record');Output:
INSERT 0 1 -
Query the table to confirm data access.
SQLerp_database=> SELECT * FROM test_table;Output:
id | name ----+--------------- 1 | sample record (1 row) -
Exit from the PostgreSQL prompt.
SQLerp_database=> \qOutput:
$
Test That Other Users Cannot Access the Database
Create a test user to verify that your restriction works correctly.
-
Log in to PostgreSQL as the
postgressuperuser.console$ sudo -u postgres psqlOutput:
psql (18.2 (Ubuntu 18.2-1ubuntu1)) Type "help" for help. postgres=# -
Create a test user.
SQLpostgres=# CREATE USER test_user WITH PASSWORD 'test123';Output:
CREATE ROLE -
Exit from the PostgreSQL prompt.
SQLpostgres=# \q -
Attempt to connect to
erp_databaseastest_user.console$ psql -U test_user -d erp_databaseOutput:
Password for user test_user:
psql: error: connection to server on socket "/var/run/postgresql/.s.PGSQL.5432" failed: FATAL:  permission denied for database "erp_database"
DETAIL:  User does not have CONNECT privilege.
The connection fails as expected, confirming that only john_doe can access the database.
Back Up the Database as the Superuser
Regular backups should run using the superuser account to read all objects regardless of ownership.
-
Run the
pg_dumpcommand to create a backup of the database.console$ sudo pg_dump -d erp_database -U postgres > ~/erp_database_backup.sqlOutput:
$
The pg_dump utility creates a backup file containing all SQL commands needed to recreate the database. The -U postgres flag uses the superuser account to read all objects.
Understand Why This Permission Order Matters
Setting permissions before creating any tables ensures that all future objects belong to john_doe rather than postgres. If you create tables as postgres before applying restrictions, those tables become owned by postgres, and john_doe would lack modification rights. By creating the database with john_doe as owner and applying schema and connection restrictions first, any objects you create afterward inherit john_doe as their owner. This order guarantees full control remains with the designated database user and no other roles can modify the database or its public schema.
Compare with MySQL Privilege Model
If you have used MySQL, the PostgreSQL approach achieves the same result as the MySQL GRANT ALL PRIVILEGES syntax. In MySQL, you grant full database access using:
GRANT ALL PRIVILEGES ON erp_database.* TO 'john_doe'@'localhost' IDENTIFIED BY 'password';
FLUSH PRIVILEGES;
PostgreSQL replaces this with three distinct steps:
CREATE DATABASE ... OWNER john_doeassigns database ownership.REVOKE ALL ON SCHEMA public FROM PUBLICremoves default public access.GRANT ALL ON SCHEMA public TO john_doerestores access only to the specific user.
Both systems achieve database-level isolation, but PostgreSQL offers finer control through schema separation and ownership inheritance.
Conclusion
In this guide, you have created a PostgreSQL user and database on Ubuntu 26.04, assigned full database ownership, revoked public schema access, and restricted connections to a single user. You also tested the configuration by logging in as the new user and verified that other users cannot connect. Now that you understand PostgreSQL user and database isolation, consider applying this pattern to each application in your infrastructure.
