Author

Francis Ndungu
On this Page
How to Install Redis In-Memory Database on Ubuntu 26.04
28 Apr, 2026
Introduction
Redis is an open-source, in-memory data structure store that functions as a database, cache, and message broker. Unlike traditional databases that store data on disk, Redis keeps data in memory, enabling sub-millisecond response times for read and write operations. The database supports various data structures including strings, hashes, lists, sets, sorted sets with range queries, bitmaps, hyperloglogs, geospatial indexes, and streams. Redis powers real-time applications like session management, leaderboards, rate limiting, job queues, and full-page caching for high-traffic web services.
This guide shows you how to install Redis on Ubuntu 26.04.
Prerequisites
Before you start:
- Purchase an Ubuntu 24.04 VPS (Virtual Private Server) . If you don't have an Ubuntu VPS, sign up with Vultr and get upto $300 worth of free credit to test the Vultr platform.
-
Connect to your server through SSH, replace
192.168.0.1with your VPS public IP address..-
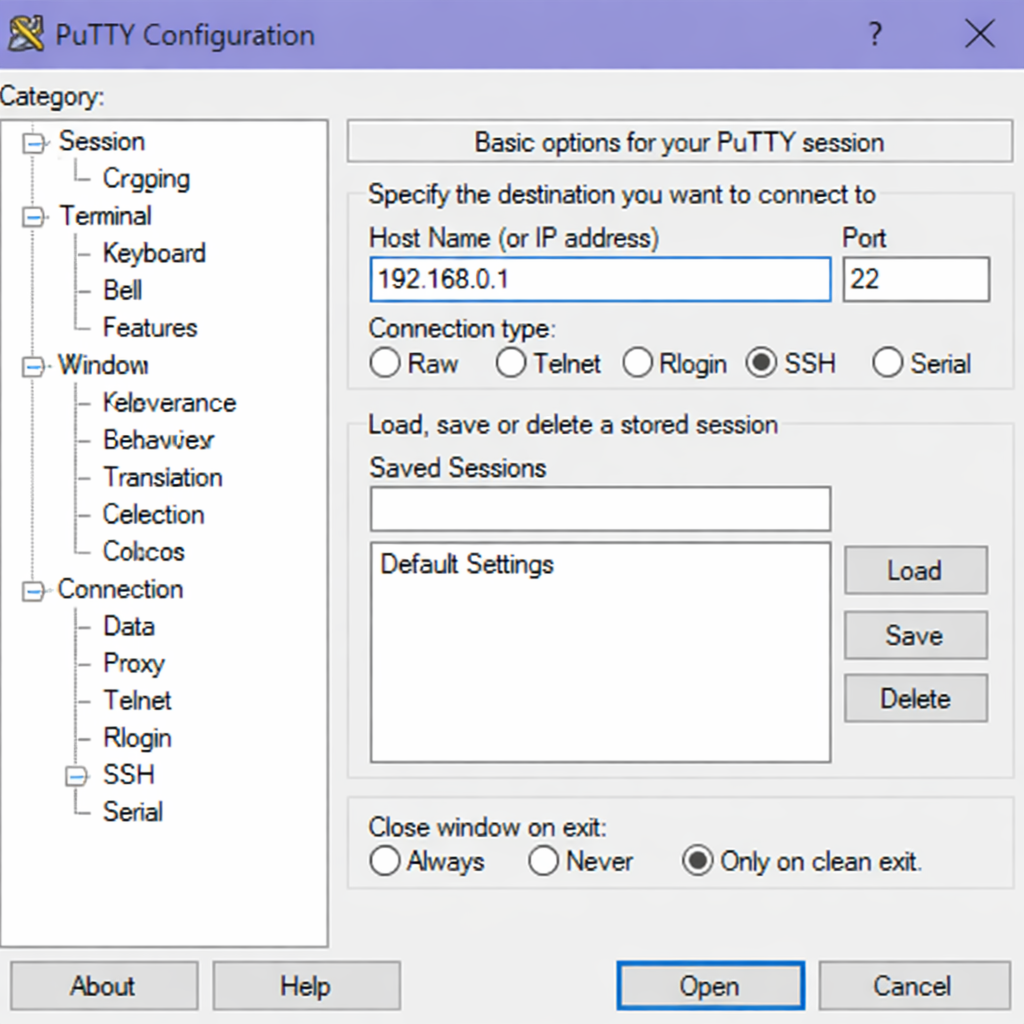
Use PuTTY to connect to your VPS .
-
Run the following command in your shell.
console$ ssh username@192.168.0.1
-
-
Create a non-root user with sudo privileges. Read our guide on How to Create a Non-Root Sudo User on Ubuntu 24.04. You'll use this user's account to run the commands in this guide.
Install Redis from Ubuntu Repository
The Redis package is available by default on the Ubuntu repositories. Installing from the official repository provides a stable version tested for Ubuntu compatibility.
-
Refresh your system's package list to ensure you get the latest available versions.
console$ sudo apt update -
Install the Redis server package.
console$ sudo apt install -y redis-serverOutput:
Reading package lists... Done Building dependency tree... Done Reading state information... Done The following additional packages will be installed: libjemalloc2 redis-tools Suggested packages: ruby-redis The following NEW packages will be installed: libjemalloc2 redis-server redis-tools 0 upgraded, 3 newly installed, 0 to remove and 0 not upgraded. Need to get 1,234 kB of archives. After this operation, 8.45 MB of additional disk space will be used. -
Verify the Redis version.
console$ redis-server --versionOutput:
Redis server v=8.0.5 ...
Manage Redis Service
Redis runs as a system service on Ubuntu under the name redis-server. You can manage this service using specific commands to start, stop, restart, and check the Redis status. These commands ensure your Redis installation runs smoothly and make maintenance easier on your system.
Check Redis Service Status
$ sudo systemctl status redis-server
Output:
● redis-server.service - Advanced key-value store
     Loaded: loaded (/usr/lib/systemd/system/redis-server.service; enabled; preset: enabled)
     Active: active (running) since Thu 2026-03-12 14:22:10 UTC; 1min 5s ago
       Docs: http://redis.io/documentation,
             man:redis-server(1)
   Main PID: 12456 (redis-server)
     Status: "Ready to accept connections"
      Tasks: 5 (limit: 2271)
     Memory: 8.9M (peak: 9.2M)
        CPU: 234ms
     CGroup: /system.slice/redis-server.service
             └─12456 "/usr/bin/redis-server *:6379"
Press Ctrl + C.
Enable Redis to Start on Boot
$ sudo systemctl enable redis-server
Output:
Synchronizing state of redis-server.service with SysV service script with /usr/lib/systemd/systemd-sysv-install.
Executing: /usr/lib/systemd/systemd-sysv-install enable redis-server
Start Redis Service
$ sudo systemctl start redis-server
Stop Redis Service
$ sudo systemctl stop redis-server
Restart Redis Service
$ sudo systemctl restart redis-server
Test Redis Locally
Before configuring remote access, test that Redis works correctly on your local server. The redis-cli command-line tool connects to Redis and executes commands.
-
Connect to Redis using the command-line interface.
console$ redis-cliOutput:
127.0.0.1:6379> -
Send the ping command to test Redis.
127.0.0.1:6379> pingOutput:
PONG -
Set a
test_keyand set the value toHello Redis.127.0.0.1:6379> set test_key "Hello Redis"Output:
OK -
Retrieve the value.
127.0.0.1:6379> get test_keyOutput:
"Hello Redis" -
List all keys in the database.
127.0.0.1:6379> keys *Output:
1) "test_key" -
Exit the Redis CLI.
127.0.0.1:6379> exitOutput:
$
Configure Redis with Password Authentication
By default, Redis does not require a password for connections. Securing Redis with a password prevents unauthorized access from remote clients.
-
Open the Redis configuration file with Nano.
console$ sudo nano /etc/redis/redis.conf -
Locate the
requirepassdirective.INI# requirepass foobared -
Uncomment the line and change the password to a strong value.
INIrequirepass your_strong_password -
Save and close the
/etc/redis/redis.conffile by pressing Ctrl + X +, Y then Enter. -
Restart Redis to apply the password change.
console$ sudo systemctl restart redis-server -
Test the password authentication.
console$ redis-cliOutput:
127.0.0.1:6379> -
Try to run a command without authenticating.
127.0.0.1:6379> get test_keyOutput:
(error) NOAUTH Authentication required. -
Authenticate with the password.
127.0.0.1:6379> AUTH your_passwordOutput:
OK -
Retrieve the value again.
127.0.0.1:6379> get test_keyOutput:
"Hello Redis" -
Exit the Redis CLI.
127.0.0.1:6379> exit
Configure Redis Memory Management
Redis stores all data in memory, so you should configure maximum memory limits and eviction policies to prevent out-of-memory crashes.
-
Open the Redis configuration file for editing.
console$ sudo nano /etc/redis/redis.conf -
Locate the
maxmemorydirective.INI# maxmemory <bytes> -
Set maximum memory to 256MB for a small server.
INImaxmemory 256mb -
Locate the
maxmemory-policydirective.INI# maxmemory-policy noeviction -
Change the eviction policy to
allkeys-lruwhich removes least recently used keys when memory fills up.INImaxmemory-policy allkeys-lru -
Save and close the
/etc/redis/redis.conffile by pressing Ctrl + X + Y. -
Restart Redis to apply memory settings.
console$ sudo systemctl restart redis-server
Monitor Redis Performance
Redis provides built-in commands to monitor performance metrics, connected clients, and memory usage.
-
Connect to Redis locally.
console$ redis-cli -a your_password -
Check Redis statistics.
127.0.0.1:6379> INFO statsOutput:
# Stats total_connections_received:5 total_commands_processed:12 instantaneous_ops_per_sec:0 total_net_input_bytes:456 total_net_output_bytes:1234 rejected_connections:0 -
Check memory usage.
127.0.0.1:6379> INFO memoryOutput:
# Memory used_memory:8923456 used_memory_human:8.51M used_memory_rss:12345678 used_memory_peak:9234567 used_memory_peak_human:8.81M maxmemory:268435456 maxmemory_human:256.00M maxmemory_policy:allkeys-lru mem_fragmentation_ratio:1.38 -
Check connected clients.
127.0.0.1:6379> INFO clientsOutput:
# Clients connected_clients:2 client_recent_max_input_buffer:2048 client_recent_max_output_buffer:0 blocked_clients:0 tracking_clients:0 -
Exit the Redis CLI.
127.0.0.1:6379> exit
Conclusion
In this guide, you have installed Redis on Ubuntu 26.04 using apt, secured the database with password authentication, configured remote access, opened the firewall port, and managed memory limits with eviction policies. You also tested local and remote connections, monitored performance metrics, and verified data persistence across service restarts. Now that you have Redis running, consider integrating it with web frameworks like Django or Node.js for session storage, use it as a cache layer in front of PostgreSQL or MySQL, or implement real-time features like leaderboards and message queues using Redis data structures.
