Author

Francis Ndungu
On this Page
How to Install OpenClaw AI Assistant on Ubuntu 26.04
07 May, 2026
Introduction
OpenClaw is an open-source, autonomous AI framework that runs directly on your infrastructure rather than on third-party servers. The platform acts as a gateway between large language models (LLMs) and everyday communication tools like WhatsApp, Telegram, Discord, and Slack. This self-hosted approach keeps your conversation data private while giving you full control over how the AI agent accesses your systems. OpenClaw supports multiple LLM providers including Anthropic, OpenAI, Google Gemini, and local models through Ollama integration.
This guide shows you how to install and configure OpenClaw on Ubuntu 26.04 using the official installation script.
Prerequisites
Before you start:
- Purchase an Ubuntu 26.04 VPS (Virtual Private Server) . If you don't have an Ubuntu VPS, sign up with Vultr and get upto $300 worth of free credit to test the Vultr platform.
-
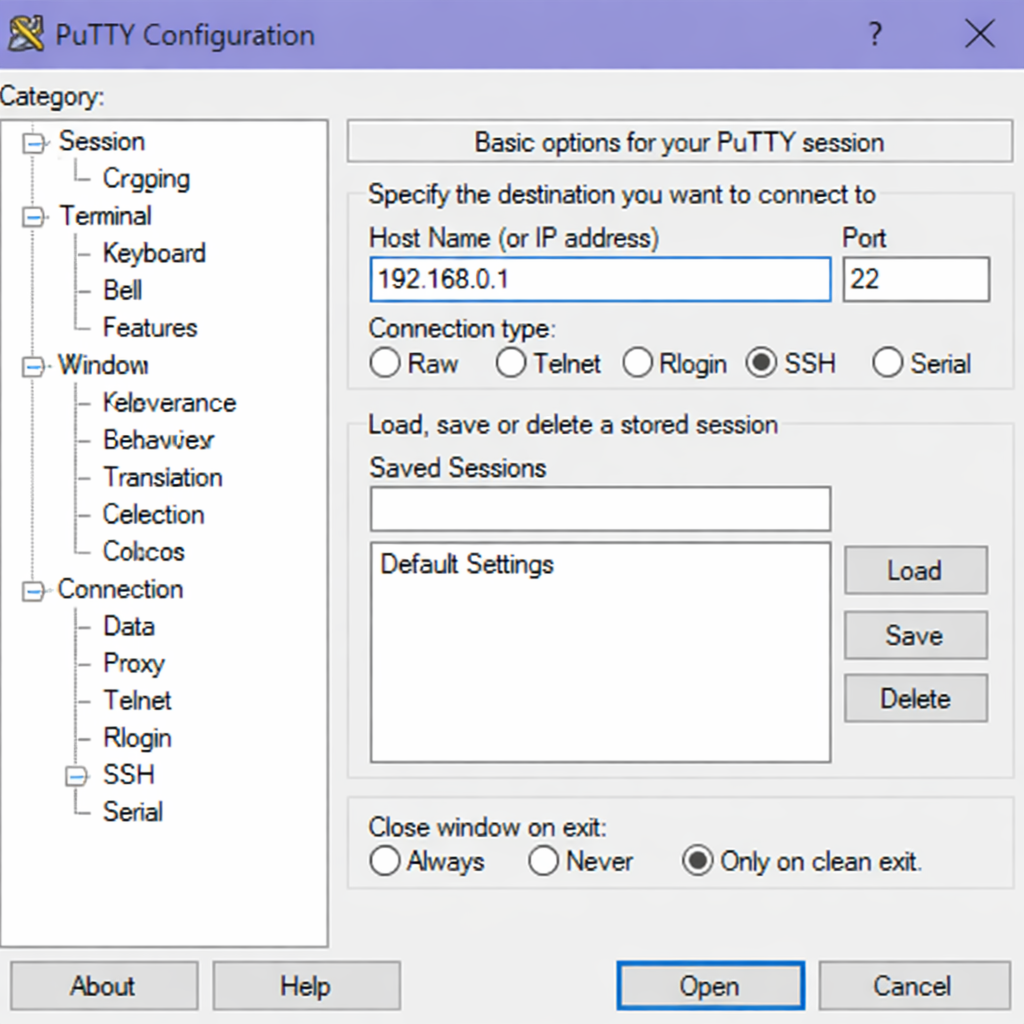
Connect to your server through SSH, replace
192.168.0.1with your VPS public IP address..-
Use PuTTY to connect to your VPS .
-
Run the following command in your shell.
console$ ssh username@192.168.0.1
-
-
Create a non-root user with sudo privileges. Read our guide on How to Create a Non-Root Sudo User on Ubuntu 24.04. You'll use this user's account to run the commands in this guide.
- Obtain an API key from an LLM provider such as OpenAI, Anthropic, or Google Gemini .
Install Required Dependencies
OpenClaw requires certain system tools to download and run correctly. The installation process needs curl to fetch the installer and git for version control operations.
-
Refresh your package information index.
console$ sudo apt update -
Upgrade your system packages.
console$ sudo apt upgrade -y -
Install the
curlutility for downloading files from the internet.console$ sudo apt install -y curl -
Install
gitfor cloning repositories and managing updates.console$ sudo apt install -y git -
Install Python and its package manager, as some OpenClaw skills require Python support .
console$ sudo apt install -y python3 python3-pip
Install OpenClaw with the Official Installer
The OpenClaw team provides an installation script that automatically detects your operating system, installs the correct Node.js version, and sets up the OpenClaw package. This is the fastest way to get OpenClaw running on Ubuntu.
-
Download and execute the official OpenClaw installation script.
console$ curl -fsSL https://openclaw.ai/install.sh | bashOutput:
🦞 OpenClaw Installer ✓ Detected: linux Install plan OS: Linux Install method: npm Requested version: latest [1/3] Preparing environment Node.js not found, installing it now Installing Node.js via NodeSource ✓ Node.js v22 installed Active Node.js: v22.22.0 (/usr/bin/node) Active npm: 10.9.4 (/usr/bin/npm) [2/3] Installing OpenClaw ✓ Git already installed Installing OpenClaw v2026.3.24 ✓ OpenClaw npm package installed [3/3] Finalizing setup 🦞 OpenClaw installed successfully (OpenClaw 2026.3.24)! -
Add the npm global binaries directory to your system
PATHso you can run theopenclawcommand from any location.console$ grep -qxF 'export PATH="$HOME/.npm-global/bin:$PATH"' ~/.bashrc || printf '%s\n' 'export PATH="$HOME/.npm-global/bin:$PATH"' >> ~/.bashrc $ export PATH="$HOME/.npm-global/bin:$PATH" $ hash -r -
Verify the installation by checking the OpenClaw version.
console$ openclaw --versionOutput:
OpenClaw 2026.3.24 (cff6dc9)
Run the Onboarding Configuration
After installing OpenClaw, you must run the onboarding wizard. This interactive process configures your AI provider, sets up the gateway, and creates the necessary configuration files on your system .
-
Start the onboarding wizard and install the gateway daemon for background operation.
console$ openclaw onboard --install-daemon -
Read the security warning carefully and confirm with
Yeswhen prompted .Output:
┌ OpenClaw setup │ ◇ Security ──────────────────────────────────────────────────── │ Security warning — please read. │ OpenClaw can read files and run actions if tools are enabled. │ If you're not comfortable with security hardening, don't run OpenClaw. │ │ Security confirmation → Yes -
Select your preferred onboarding mode. Choose
QuickStartfor automatic configuration of default parameters . -
Select your LLM provider from the available options (OpenAI, Anthropic, Google Gemini, or Ollama for local models) .
-
Enter your API key when prompted. For Google Gemini users, generate a key from Google AI Studio .
-
Configure your preferred messaging channel. Telegram is a common choice for initial setup. To create a Telegram bot :
- Open Telegram and search for
@BotFather - Type
/newbotand follow the prompts to name your bot - Save the token provided by
@BotFather
- Open Telegram and search for
-
Complete the remaining wizard prompts or skip them for now as you can configure additional features later.
Verify the OpenClaw Gateway Status
The gateway is the core service that manages communication between your AI agent and your configured channels. After onboarding completes, verify that the gateway is running correctly.
-
Check the gateway status using the OpenClaw command.
console$ openclaw gateway statusOutput:
Runtime: running
Listening: 127.0.0.1:18789
RPC probe: ok
Configure the Firewall for OpenClaw
Ubuntu's Uncomplicated Firewall (UFW) may block access to the OpenClaw web dashboard. If you want to access the dashboard from other devices on your network, you must allow traffic on port 18789.
-
Allow TCP traffic on port 18789 through the firewall .
console$ sudo ufw allow 18789/tcp -
Reload the firewall to apply the new rule.
console$ sudo ufw reload
Configure LAN Access to the Dashboard
By default, OpenClaw binds to localhost (127.0.0.1), which means you can only access the dashboard from the server itself. To access the dashboard from other computers on your network, modify the gateway configuration.
-
Open the main OpenClaw configuration file with a text editor.
console$ nano ~/.openclaw/openclaw.json -
Locate the
gatewaysection in the configuration file. -
Change the
bindvalue from127.0.0.1tolanto allow network access .JSON"gateway": { "port": 18789, "mode": "local", "bind": "lan" } -
Save and close the file by pressing
Ctrl+O,Enter, thenCtrl+X. -
Restart the gateway to apply the new configuration.
console$ openclaw gateway restart -
Obtain your server's IP address to access the dashboard remotely.
console$ ip addr show | grep -E "inet " | awk '{print $2}' | cut -d'/' -f1 | grep -v "^127" -
Generate the dashboard access URL with your authentication token.
console$ openclaw dashboardOutput:
http://192.168.1.100:18789/#token=your_secret_token_here
Access the OpenClaw Dashboard
The OpenClaw dashboard provides a web-based interface for managing your AI agent, viewing conversation history, and adjusting configurations.
-
Open a web browser on a computer connected to the same network as your Ubuntu server.
-
Enter the dashboard URL from the previous step. Replace the IP address with your server's IP address.
-
Bookmark the URL for future access, as the token provides authentication without requiring a separate login.
Test the OpenClaw Agent
After completing the configuration, test your OpenClaw installation by sending a message through your configured channel or using the terminal interface.
-
Launch the OpenClaw terminal user interface for direct interaction with your agent .
console$ openclaw tui -
Type a test message such as
Hello, what can you help me with today? - Press
Enterto send the message and wait for the agent's response. - Exit the TUI by pressing
Ctrl+Cwhen you finish testing.
Conclusion
You have successfully installed OpenClaw on Ubuntu 26.04, configured your LLM provider, set up the gateway service, and accessed the web dashboard. Your self-hosted AI assistant is now ready to integrate with messaging platforms and automate tasks on your terms. Now that OpenClaw is running, consider connecting additional channels like WhatsApp or Discord, configuring web search capabilities, or setting up scheduled tasks using OpenClaw's cron and heartbeat features .
