Author

Francis Ndungu
On this Page
How to Install MongoDB Database Server on Ubuntu 26.04
09 May, 2026
Introduction
MongoDB is a popular open-source NoSQL database that stores data in flexible, JSON-like documents rather than traditional table-based structures. Unlike relational databases that require predefined schemas, MongoDB allows you to store data with varying fields and structures within the same collection. This document-oriented approach handles unstructured or semi-structured data efficiently, making MongoDB a preferred choice for modern applications that require rapid iteration and scalability. Many development teams use MongoDB for content management systems, real-time analytics, catalogs, and mobile applications where data models evolve frequently.
This tutorial teaches you how to install and configure MongoDB on Ubuntu 26.04.
Prerequisites
Before you start:
- Purchase an Ubuntu 26.04 VPS (Virtual Private Server) . If you don't have an Ubuntu VPS, sign up with Vultr and get upto $300 worth of free credit to test the Vultr platform.
-
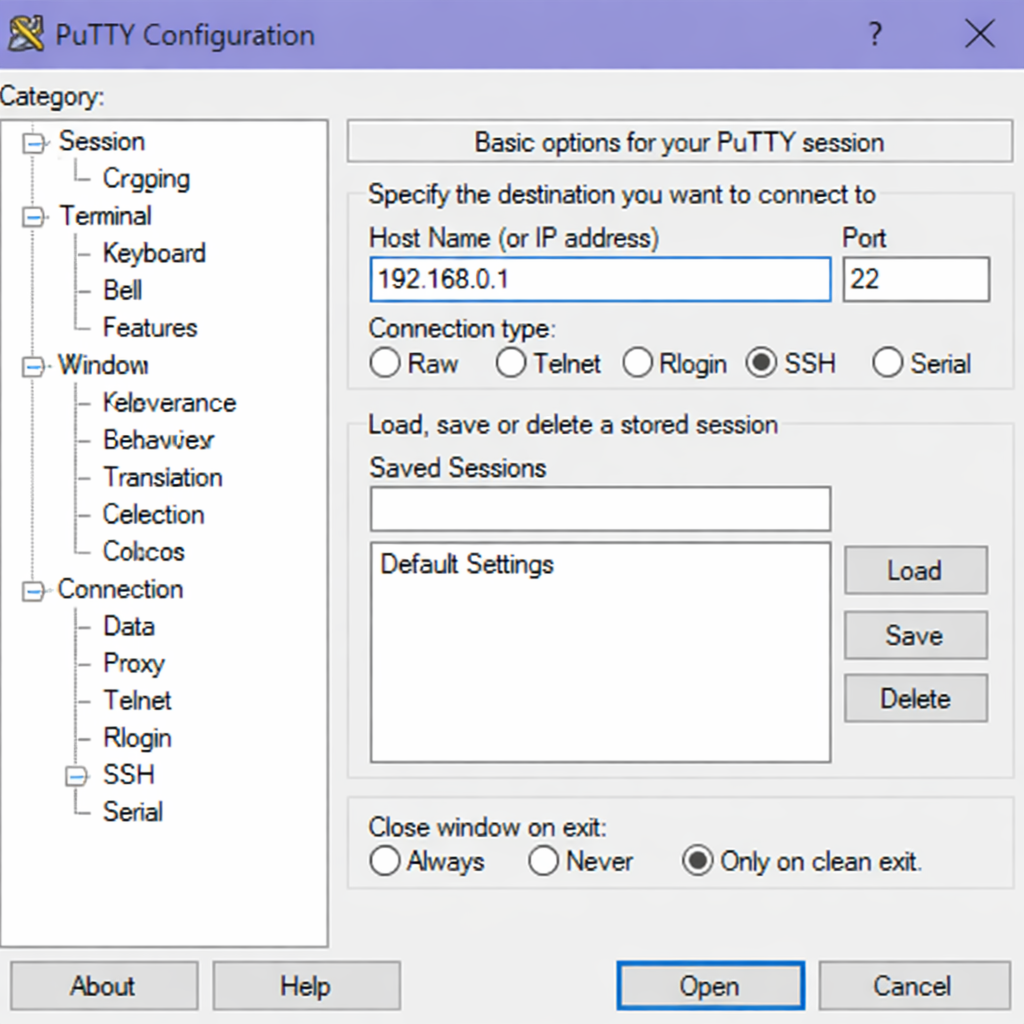
Connect to your server through SSH, replace
192.168.0.1with your VPS public IP address..-
Use PuTTY to connect to your VPS .
-
Run the following command in your shell.
console$ ssh username@192.168.0.1
-
-
Create a non-root user with sudo privileges. Read our guide on How to Create a Non-Root Sudo User on Ubuntu 24.04. You'll use this user's account to run the commands in this guide.
Understand MongoDB Terminology Compared to SQL Databases
MongoDB uses different terminology than traditional SQL databases. Understanding these differences helps you transition between database systems. The table below maps common SQL concepts to their MongoDB equivalents.
| SQL Concept | MongoDB Concept | Description |
|---|---|---|
| Database | Database | Both systems use databases to contain related data |
| Table | Collection | A group of documents in MongoDB, equivalent to a table in SQL |
| Row | Document | A single data record, stored as a BSON document in MongoDB |
| Column | Field | A key for a value within document in MongoDB |
| Column Value | Key Value | The actual value of a column (in SQL) or a actual value of a key (in MongoDB) |
| Primary Key | _id field |
MongoDB automatically creates a unique _id field for each document |
| JOIN | Embedded documents or $lookup |
MongoDB supports embedding related data directly or using aggregation lookups |
| GROUP BY | Aggregation pipeline | MongoDB uses aggregation stages like $group for data grouping |
Install MongoDB
MongoDB provides official packages for Ubuntu. To install the database server, follow these steps.
-
Refresh your system package list to get the latest available versions.
console$ sudo apt update -
Install prerequisite packages that allow
aptto use repositories over HTTPS.console$ sudo apt install -y gnupg curlOutput:
Reading package lists... Done Building dependency tree... Done Reading state information... Done gnupg is already the newest version (2.4.8-2). curl is already the newest version (8.12.1-2). 0 upgraded, 0 newly installed, 0 to remove and 0 not upgraded. -
Import the official MongoDB GPG key to verify package authenticity.
console$ curl -fsSL https://www.mongodb.org/static/pgp/server-8.0.asc | \ sudo gpg -o /usr/share/keyrings/mongodb-server-8.0.gpg --dearmor -
Add the MongoDB repository to your system sources list.
console$ echo "deb [ arch=amd64,arm64 signed-by=/usr/share/keyrings/mongodb-server-8.0.gpg ] \ https://repo.mongodb.org/apt/ubuntu noble/mongodb-org/8.0 multiverse" | \ sudo tee /etc/apt/sources.list.d/mongodb-org-8.0.listOutput:
deb [ arch=amd64,arm64 signed-by=/usr/share/keyrings/mongodb-server-8.0.gpg ] https://repo.mongodb.org/apt/ubuntu noble/mongodb-org/8.0 multiverse -
Refresh the package list again to include the newly added MongoDB repository.
console$ sudo apt update -
Install the MongoDB packages.
console$ sudo apt install -y mongodb-orgOutput:
Reading package lists... Done Building dependency tree... Done Reading state information... Done The following NEW packages will be installed: mongodb-database-tools mongodb-mongosh mongodb-org mongodb-org-database mongodb-org-database-tools-extra mongodb-org-mongos mongodb-org-server mongodb-org-shell mongodb-org-tools 0 upgraded, 9 newly installed, 0 to remove and 0 not upgraded. Need to get 252 MB of archives. After this operation, 1,024 MB of additional disk space will be used. -
Verify the MongoDB version using the
mongoddaemon.console$ mongod --versionOutput:
db version v8.0.21
Build Environment:
    distarch: x86_64
    target_arch: x86_64
Manage MongoDB Service
MongoDB runs as a system service on Ubuntu under the name mongod. You can manage this service using specific commands to start, stop, restart, and check the MongoDB status. These commands ensure your database server runs correctly and simplify maintenance tasks.
Enable MongoDB to Start on Boot
$ sudo systemctl enable mongod
Output:
Synchronizing state of mongod.service with SysV service script with /usr/lib/systemd/systemd-sysv-install.
Executing: /usr/lib/systemd/systemd-sysv-install enable mongod
Check MongoDB Status
$ sudo systemctl status mongod
Output:
● mongod.service - MongoDB Database Server
     Loaded: loaded (/usr/lib/systemd/system/mongod.service; disabled; preset: disabled)
     Active: inactive (dead)
       Docs: https://docs.mongodb.org/manual
Press Ctrl + C to return to the shell prompt.
Start MongoDB Service
$ sudo systemctl start mongod
Check MongoDB Status
$ sudo systemctl status mongod
Output:
● mongod.service - MongoDB Database Server
     Loaded: loaded (/usr/lib/systemd/system/mongod.service; enabled; preset: disabled)
     Active: active (running) since Tue 2026-04-30 08:15:23 UTC; 45s ago
       Docs: https://docs.mongodb.org/manual
   Main PID: 2456 (mongod)
     Memory: 198.2M
        CPU: 3.482s
     CGroup: /system.slice/mongod.service
             └─2456 /usr/bin/mongod --config /etc/mongod.conf
Stop MongoDB Service
$ sudo systemctl stop mongod
Restart MongoDB Service
$ sudo systemctl restart mongod
Secure MongoDB with Authentication
MongoDB does not enable authentication by default. To protect your database server, you create an administrative user and enable access control.
-
Connect to the MongoDB shell, the interactive command-line interface for managing MongoDB.
console$ mongoshOutput:
Current Mongosh Log ID: 67f8a3b2c1d4e5f6a7b8c9d0 Connecting to: mongodb://127.0.0.1:27017/?directConnection=true&serverSelectionTimeoutMS=2000 Using MongoDB: 8.0.13 Using Mongosh: 2.5.0 test> -
Switch to the
admindatabase where you store administrative users.test> use adminOutput:
switched to db admin -
Create an administrative user with
rootrole privileges.admin> db.createUser({ user: "adminUser", pwd: "your_secure_password", roles: [{ role: "root", db: "admin" }] })Output:
{ ok: 1 } -
Exit from the MongoDB shell.
admin> exitOutput:
$ -
Open the MongoDB configuration file again.
console$ sudo nano /etc/mongod.conf -
Add the following
securitysection to enable authentication.YAMLsecurity: authorization: enabledThe updated configuration file should look like this:
YAMLnet: port: 27017 bindIp: 0.0.0.0 security: authorization: enabledSave and close the
/etc/mongod.conffile by pressing Ctrl + X, Y then Enter. -
Restart MongoDB to apply the security changes.
console$ sudo systemctl restart mongod
Test the MongoDB Database Server
In this section, you'll test MongoDB by logging in with the administrative user. Then, you'll create a sample database and collection, insert documents, and query the collection to verify the database works correctly.
-
Connect to the MongoDB shell with authentication.
console$ mongosh --username adminUser --password SecurePassword123! --authenticationDatabase adminOutput:
Current Mongosh Log ID: 67f8a3b2c1d4e5f6a7b8c9d1 Connecting to: mongodb://127.0.0.1:27017/?directConnection=true&serverSelectionTimeoutMS=2000&authSource=admin Using MongoDB: 8.0.13 Using Mongosh: 2.5.0 test> -
Create a new
library_dbdatabase. In MongoDB, switching to a database creates it automatically.test> use library_dbOutput:
switched to db library_db -
Create a
bookscollection and insert a document in one operation.library_db> db.books.insertOne({ title: "The Great Gatsby", author: "F. Scott Fitzgerald", year: 1925, genres: ["fiction", "classic"], available: true })Output:
{ acknowledged: true, insertedId: ObjectId('67f8a3b2c1d4e5f6a7b8c9d2') } -
Insert multiple documents into the
bookscollection.library_db> db.books.insertMany([ { title: "1984", author: "George Orwell", year: 1949, genres: ["fiction", "dystopian"], available: true }, { title: "To Kill a Mockingbird", author: "Harper Lee", year: 1960, genres: ["fiction", "classic"], available: false }, { title: "Moby Dick", author: "Herman Melville", year: 1851, genres: ["fiction", "adventure"], available: true } ])Output:
{ acknowledged: true, insertedIds: { '0': ObjectId('67f8a3b2c1d4e5f6a7b8c9d3'), '1': ObjectId('67f8a3b2c1d4e5f6a7b8c9d4'), '2': ObjectId('67f8a3b2c1d4e5f6a7b8c9d5') } } -
Query all documents in the
bookscollection.library_db> db.books.find().pretty()Output:
[ { _id: ObjectId('67f8a3b2c1d4e5f6a7b8c9d2'), title: 'The Great Gatsby', author: 'F. Scott Fitzgerald', year: 1925, genres: [ 'fiction', 'classic' ], available: true }, { _id: ObjectId('67f8a3b2c1d4e5f6a7b8c9d3'), title: '1984', author: 'George Orwell', year: 1949, genres: [ 'fiction', 'dystopian' ], available: true }, { _id: ObjectId('67f8a3b2c1d4e5f6a7b8c9d4'), title: 'To Kill a Mockingbird', author: 'Harper Lee', year: 1960, genres: [ 'fiction', 'classic' ], available: false }, { _id: ObjectId('67f8a3b2c1d4e5f6a7b8c9d5'), title: 'Moby Dick', author: 'Herman Melville', year: 1851, genres: [ 'fiction', 'adventure' ], available: true } ] -
Query only the available books.
library_db> db.books.find({ available: true }, { title: 1, author: 1, _id: 0 })Output:
[ { title: 'The Great Gatsby', author: 'F. Scott Fitzgerald' }, { title: '1984', author: 'George Orwell' }, { title: 'Moby Dick', author: 'Herman Melville' } ] -
Count the total number of books in the collection.
library_db> db.books.countDocuments()Output:
4 -
Exit from the MongoDB shell.
library_db> exit
Your MongoDB database server is working as expected.
Conclusion
In this guide, you have installed MongoDB on Ubuntu 26.04 using the official repository, secured the server with authentication, and tested the installation by creating a database with collections and documents. Now that you have MongoDB running, consider integrating the database with a programming language like Python using pymongo, with Node.js using the mongodb package, or with Java using the MongoDB Java Driver to build modern data-driven applications.
